When we purchased our home it definitely had "character." I personally liked this about the home, but it also meant that there were some strange things about the design. One of the oddest was a large bedroom directly off the garage. The only way into the room was to walk through the two-car garage. This was extremely difficult to do once we had actual cars in the garage.
It took us quite a while to figure out what to do with the room. It started as an office that no one wanted to work in because it was dark and isolated. Then it was used as a workshop, but it was dark and too small. Then we tried using it as a workout room, but no one used it because it was dark and isolated and we don't really like working out all that much. I think you can see a pattern here. So then we started brainstorming ideas on what kinds of rooms work well with dismal lighting and being far away from the heart of the home. Bingo! A Theater Room.
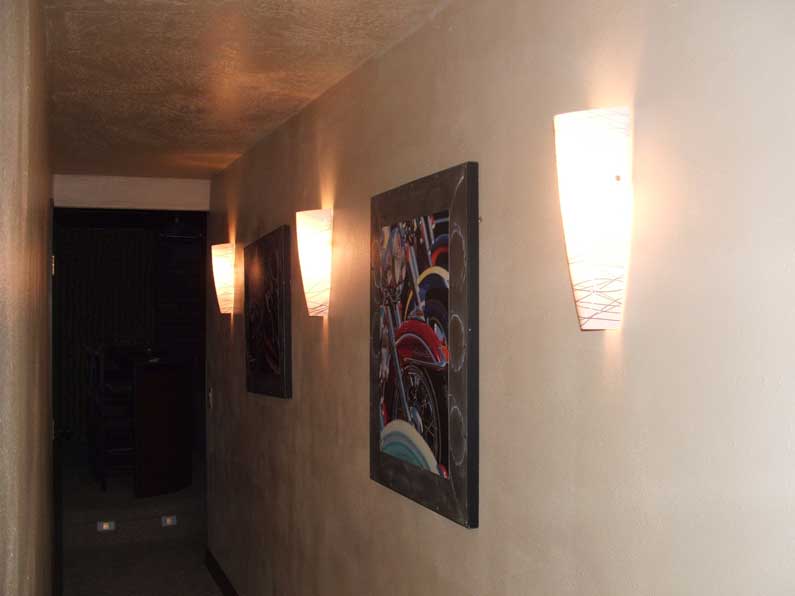
There were several problems with the idea. Firstly, no one wanted to walk through the garage--even to watch a movie on a big screen. We also weren't sure what to do with the window. We tackled the first problem by giving up enough of our garage to build a hallway to the room.
We solved the second problem by constructing faux columns along the walls and placing padded fabric panels in between the columns. That way we could leave the window, but the fabric panels hid it and did a fabulous job blocking out all light.
We always construct on an extreme budget, so opted to put in a projector (much cheaper than a large plasma) and construct a screen on the wall. We built the back of the room up by one step so we could put in a mini-snack bar since we didn't want food everywhere.
The room was too narrow and our budget too small to accommodate theater room seats, so we put a comfy couch with big ottomans below the snack bar. Eventually we found a great overhead microwave at a garage sale to install over the fridge for popping popcorn.
We wired for surround sound, and made sure to insulate every step, column, ceiling and wall--otherwise the sound will crash around your room. The total cost for the entire project came in at just under $5000, but took many weeks and lots of elbow grease.
One regret--we put the audio-visual components behind the snack bar, so the remote controls won't work when you're sitting on the couch. If you're tackling this type of project, make sure you can run all your gadgets from the seating area.